要在 IIS 6.0 下安裝一個測試用的 SSL 憑證使用內建的工具可以說是非常麻煩的,不過 IIS 6.0 Resource Kit Tools 裡面有個 SelfSSL 工具可以非常快速且方便的幫你建立站台的 SSL 金鑰,並且直接將站台所有 SSL 相關設定都處理好,對於要進行 SSL 的安裝與測試來說非常的方便。
首先,當然是先把 IIS 6.0 Resource Kit Tools 安裝好,安裝好之後所有檔案會放在以下目錄:
C:\Program Files\IIS Resources
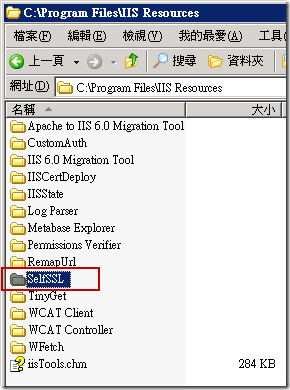
我們開啟命令提示字元並進入 SelfSSL 目錄裡輸入 SelfSSL.exe /? 查詢使用方式:
Microsoft (R) SelfSSL Version 1.0
Copyright (C) 2003 Microsoft Corporation. All rights reserved.

Installs self-signed SSL certificate into IIS.
SELFSSL [/T] [/N:cn] [/K:key size] [/S:site id] [/P:port]

/T               Adds the self-signed certificate to "Trusted Certificates"
                 list. The local browser will trust the self-signed certificate
                 if this flag is specified.
/N:cn            Specifies the common name of the certificate. The computer
                 name is used if not specified.
/K:key size      Specifies the key length. Default is 1024.
/V:validity days Specifies the validity of the certificate. Default is 7 days.
/S:site id       Specifies the id of the site. Default is 1 (Default Site).
/P:port          Specifies the SSL port. Default is 443.
/Q               Quiet mode. You will not be prompted when SSL settings are
                 overwritten.

The default behaviour is equivalent with:

selfssl.exe /N:CN=WIN2K3ENTSP2 /K:1024 /V:7 /S:1 /P:443
要使用 SelfSSL.exe 工具之前必須先找出網站的 ID ( 識別元 ),以下圖為例 SiteID 為 1662791246
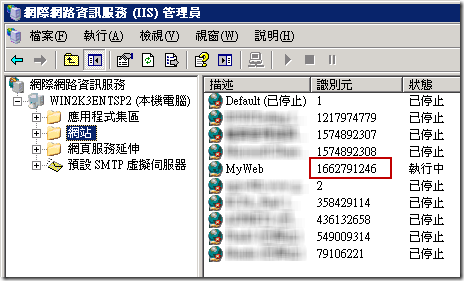
假設我們要替 SiteID = 1662791246 建立一組為期 30 天的自我簽署憑證,只要輸入以下指令即可:
selfssl.exe /S:1662791246 /V:30

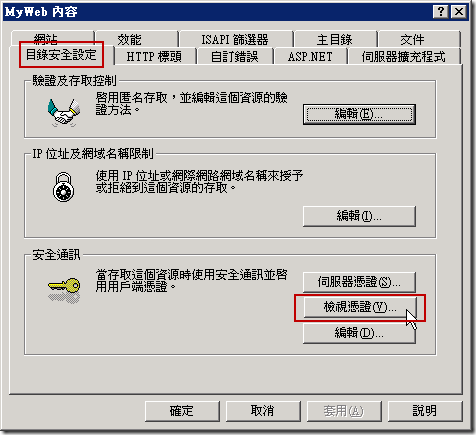
只要執行完成後所有複雜的設定就都全部完成了,你可以從站台屬性的地方切換到「目錄安全設定」的「安全通訊」區段看到「檢視憑證」按鈕,這就代表憑證已經成功安裝完成了。
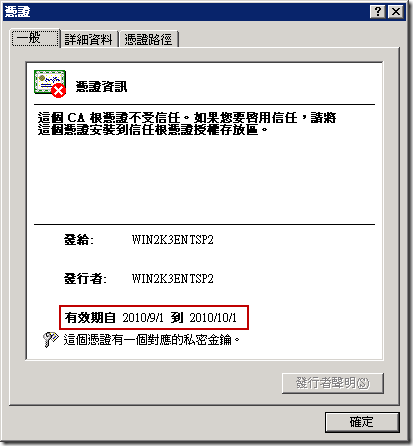
點開來看就可以看到憑證的到期日為 30 天後:
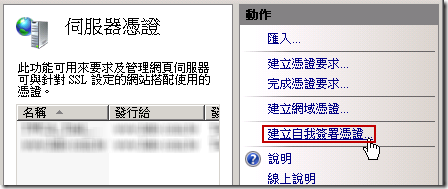
若使用 IIS7 的話,其實已經內建了「建立自我簽署憑證」的功能,所以不需要使用 SelfSSL 工具來設定
相關連結