# 如何將 Spring Boot 應用程式部署到 WildFly 應用程式伺服器
開源的 WildFly 應用程式伺服器 (WildFly Application Server) (WildFly AS) 是商用的 JBoss EAP (Enterprise Application Server) 的上游版本 (upstream project)。意思也就是說,JBoss EAP 是基於 WildFly AS 打造的,你只要學會如何部署應用程式到 WildFly AS,大概就知道如何部署到 JBoss EAP。今天這篇文章我打算來介紹如何將 Spring Boot 應用程式部署到 WildFly 應用程式伺服器。

### 啟動 WildFly 應用程式伺服器
本文將以目前最新穩定版 WildFly 26.1.2 Final 版本為例。
1. 先到 [WildFly Downloads](https://www.wildfly.org/downloads/) 下載**最新穩定版**並**解壓縮**
假設我們將 `wildfly-26.1.2.Final.zip` 解壓縮到 `G:\wildfly-26.1.2.Final` 目錄下
2. 開啟 **Command Prompt** (命令提示字元) 視窗,進入解壓縮的資料夾
```batch
cd /d G:\wildfly-26.1.2.Final
```
3. 建立管裡者帳號
```batch
bin\add-user.bat
```
假設我們設定帳號為 `wildfly`,密碼為 `wi1df1y!`
```
What type of user do you wish to add?
a) Management User (mgmt-users.properties)
b) Application User (application-users.properties)
(a): a
Enter the details of the new user to add.
Using realm 'ManagementRealm' as discovered from the existing property files.
Username : wildfly
Password recommendations are listed below. To modify these restrictions edit the add-user.properties configuration file.
- The password should be different from the username
- The password should not be one of the following restricted values {root, admin, administrator}
- The password should contain at least 8 characters, 1 alphabetic character(s), 1 digit(s), 1 non-alphanumeric symbol(s)
Password : wi1df1y!
Re-enter Password : wi1df1y!
What groups do you want this user to belong to? (Please enter a comma separated list, or leave blank for none)[ ]:
About to add user 'wildfly' for realm 'ManagementRealm'
Is this correct yes/no? yes
Added user 'wildfly' to file 'G:\wildfly-26.1.2.Final\standalone\configuration\mgmt-users.properties'
Added user 'wildfly' to file 'G:\wildfly-26.1.2.Final\domain\configuration\mgmt-users.properties'
Added user 'wildfly' with groups to file 'G:\wildfly-26.1.2.Final\standalone\configuration\mgmt-groups.properties'
Added user 'wildfly' with groups to file 'G:\wildfly-26.1.2.Final\domain\configuration\mgmt-groups.properties'
Is this new user going to be used for one AS process to connect to another AS process?
e.g. for a slave host controller connecting to the master or for a Remoting connection for server to server Jakarta Enterprise Beans calls.
yes/no? no
Press any key to continue . . .
```
4. 以 `standalone` 模式啟動 WildFly AS
```batch
bin\standalone.bat --debug
```
> 加上 `--debug` 會額外 LISTEN Port `8787` 讓 IDE 工具可以透過 Attach 的方式進行應用程式偵錯。
5. 開啟 `WildFly AS` 預設首頁: [http://127.0.0.1:8080/](http://127.0.0.1:8080/)

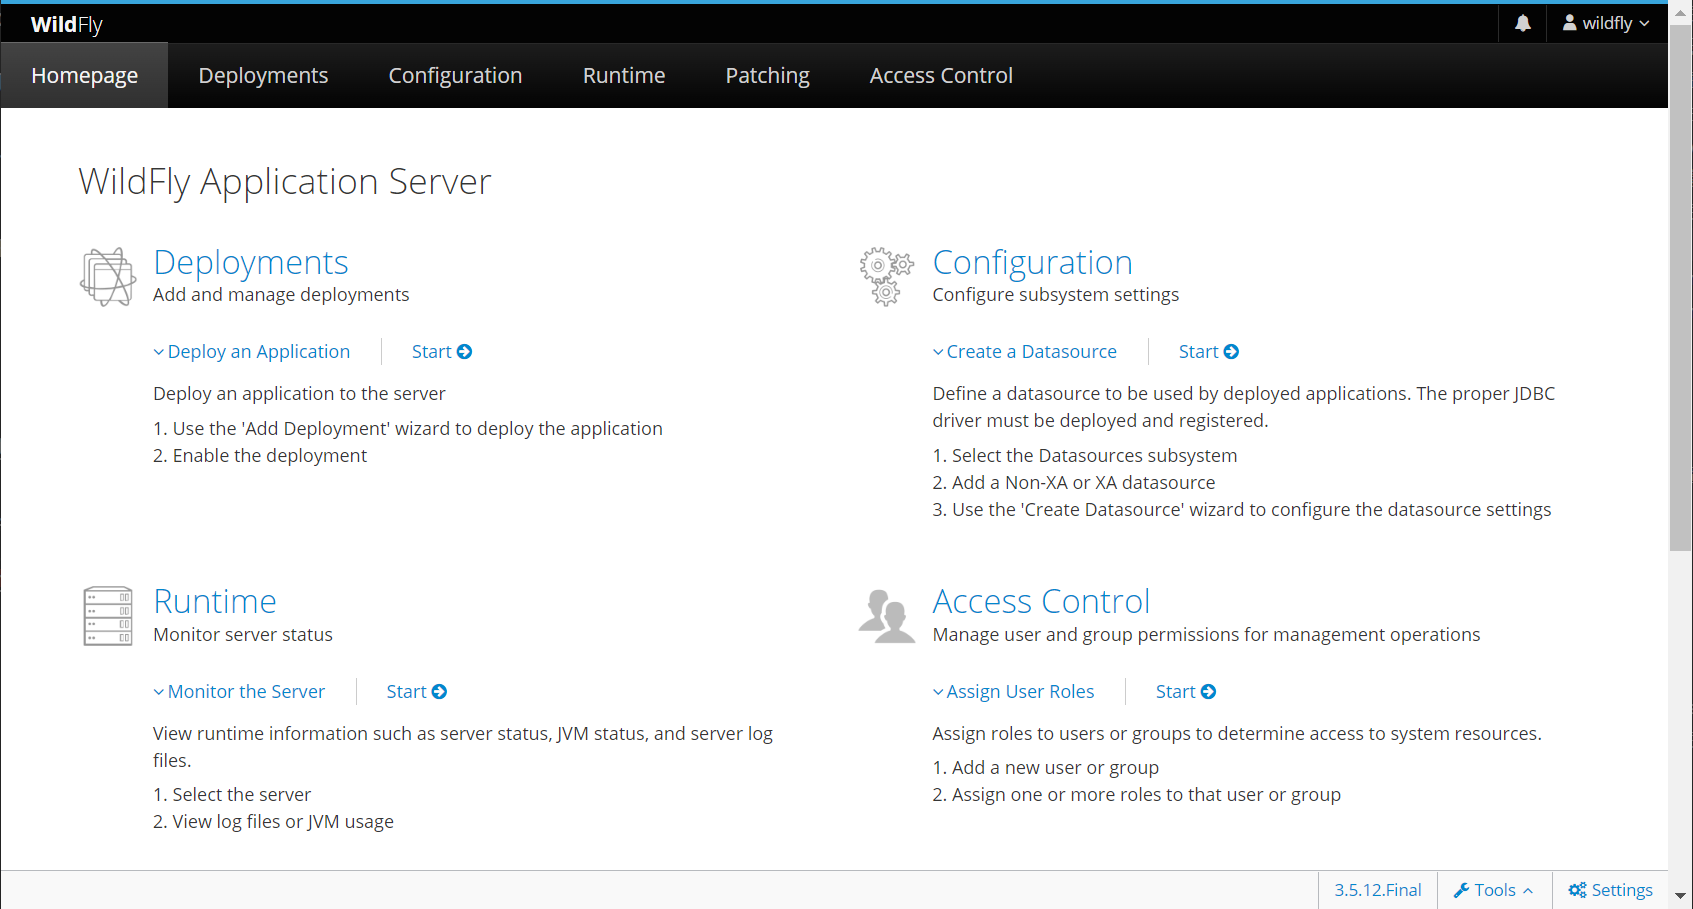
6. 開啟 `WildFly AS` 管裡主控台: [http://127.0.0.1:9990/](http://127.0.0.1:9990/) (帳號: `wildfly` , 密碼: `wi1df1y!`)
### 使用 Spring Boot Initializr 快速建立一個新專案
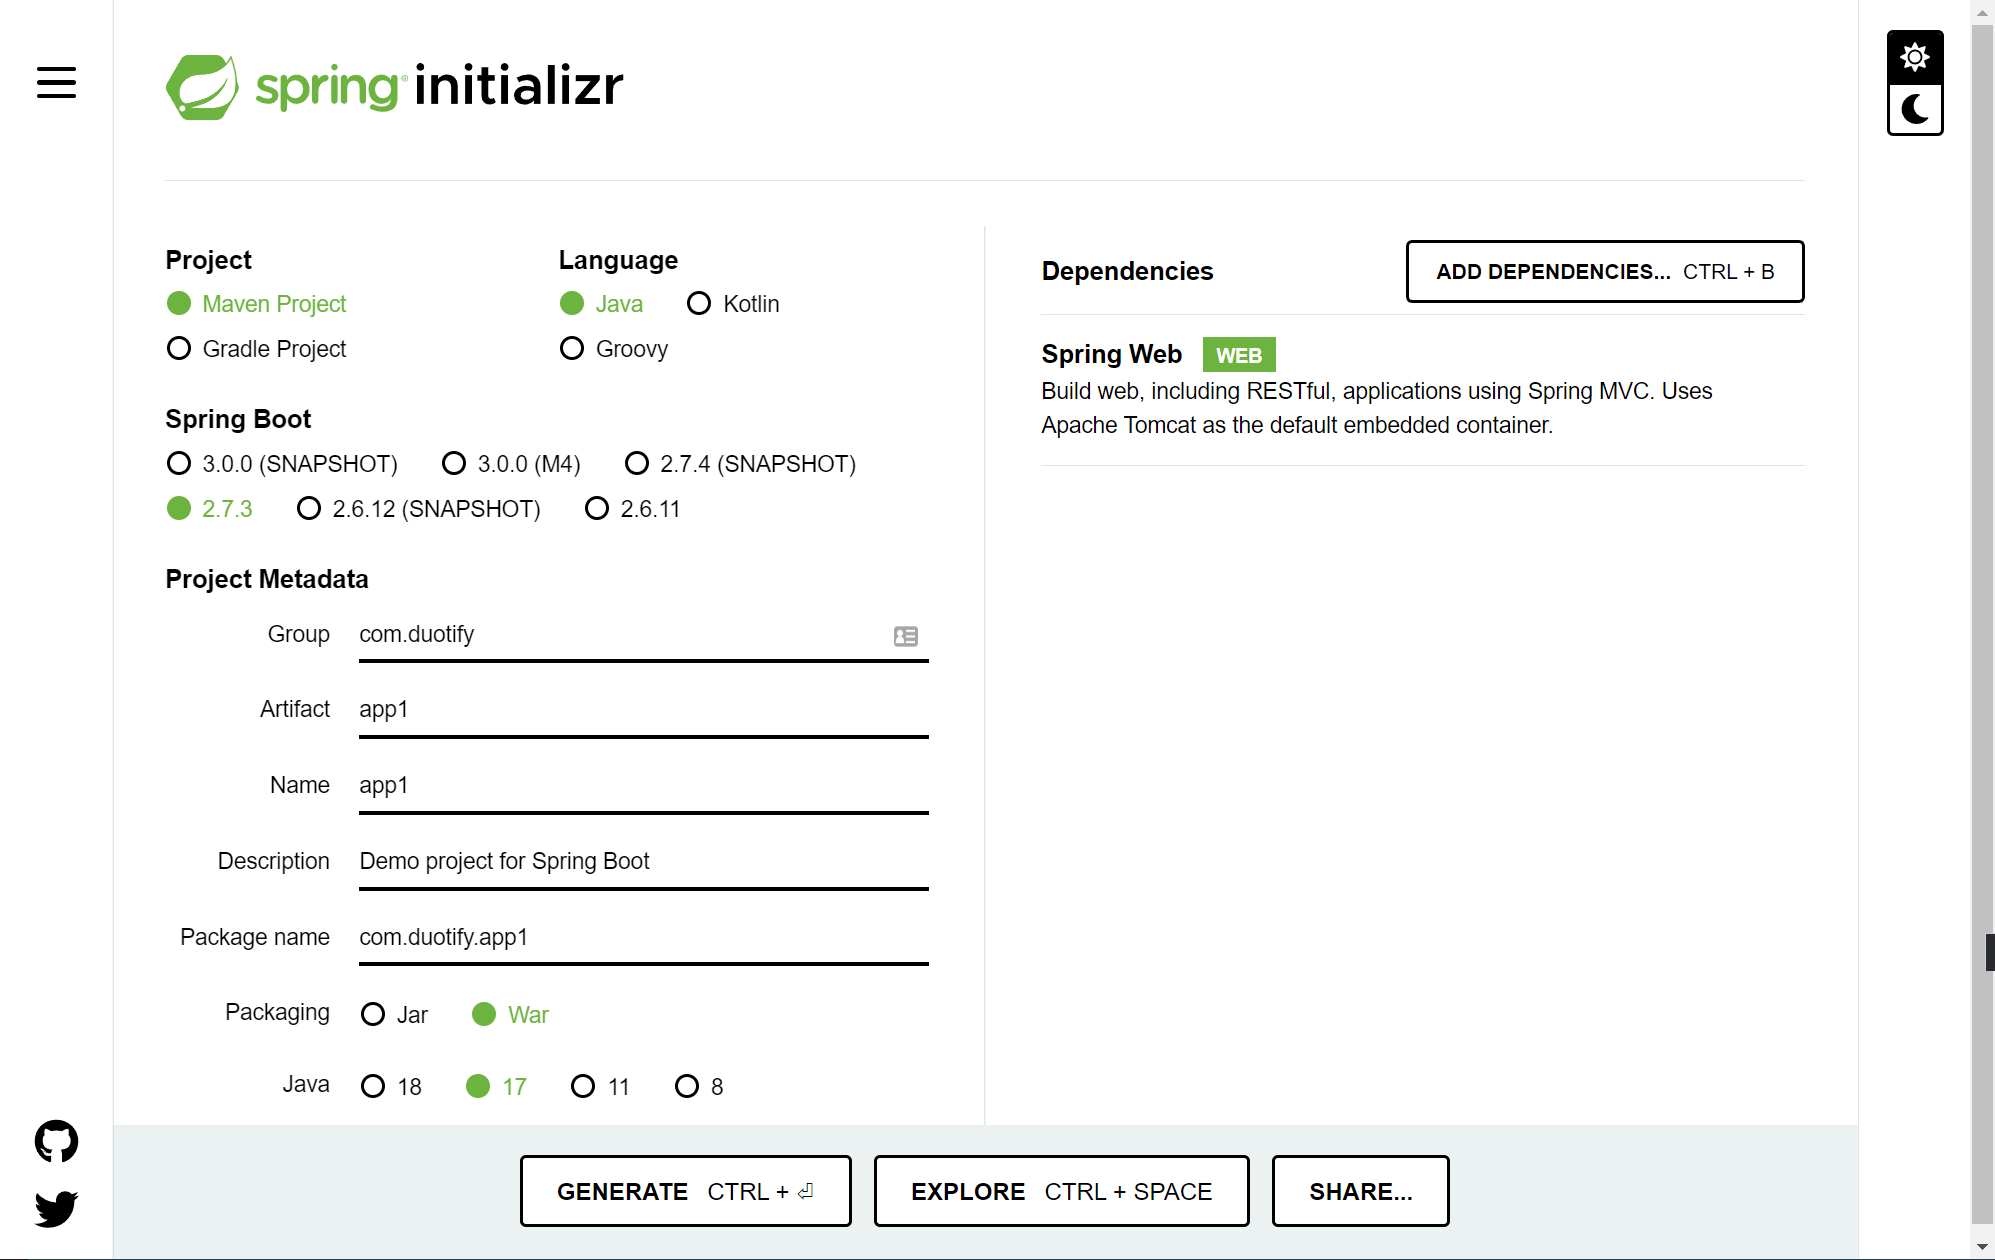
1. 請使用以下參數建立專案
2. 撰寫一個 `HomeController` 並簡單回應一個 `Hello World` 字串即可
```java
package com.duotify.app1.controllers;
import org.springframework.web.bind.annotation.GetMapping;
import org.springframework.web.bind.annotation.RequestMapping;
import org.springframework.web.bind.annotation.RestController;
/**
* HomeController
*/
@RestController
@RequestMapping("/")
public class HomeController {
public HomeController() {
}
@GetMapping
public String getString() {
return "Hello World";
}
}
```
3. 調整 `src\main\resources\application.properties` 屬性檔
由於 `WildFly AS` 預設會佔用 Port `8080`,剛好跟 Spring Boot 內建的 Tomcat 應用程式伺服器所用到的 Port `8080` 相衝突。因此建議你調整 `server.port` 屬性為`8081` 即可。
```ini
server.port=8081
```
4. 啟動 Tomcat 應用程式伺服器執行
[http://localhost:8081/](http://localhost:8081/)
此時你應該會在畫面上看到一行很簡單的 `Hello World` 而已,看到就代表 Spring Boot 運作正常!
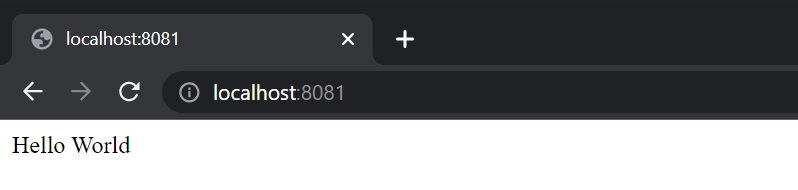
> 在 VSCode 裡面可以開啟 `App1Application.java` 檔案之後,按下 `F5` 功能鍵就可以啟動網站。
5. 建立 Git 版控
```bash
curl -sL https://www.gitignore.io/api/java,maven > .gitignore
git init
git add .
git commit -m "Initial commit"
```
### 初始化 `WildFly AS` 部署相關設定
1. 在專案中建立一個 `src/main/webapp/WEB-INF/jboss-web.xml` 檔案
```xml
/
```
2. 從 `spring-boot-starter-web` 相依套件排除 `ch.qos.logback:logback-classic` 這個 `artifact`
```xml
org.springframework.boot
spring-boot-starter-web
logback-classic
ch.qos.logback
```
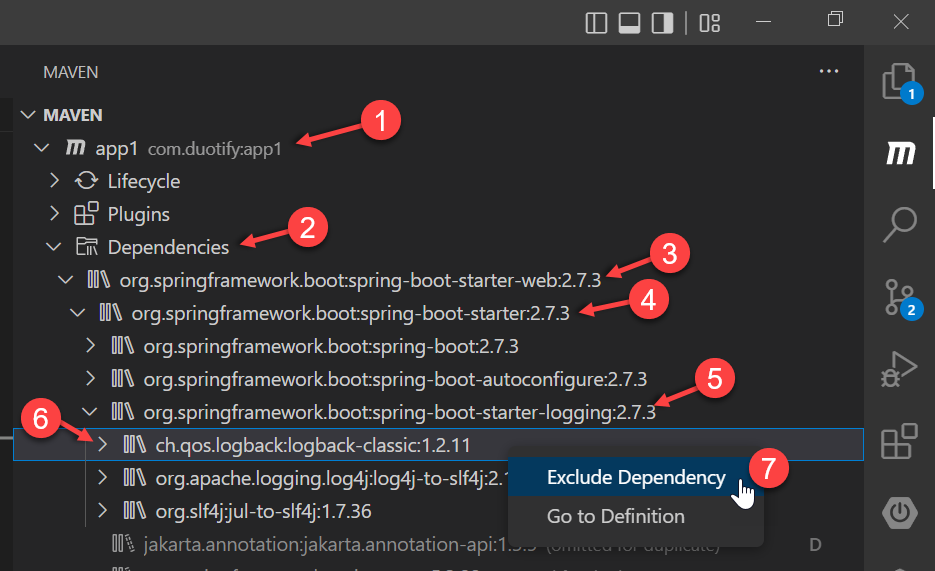
如果你不排除 `logback-classic` 的話,到時部署就會看到以下錯誤:
```json
{"WFLYCTL0080: Failed services" => {"jboss.deployment.unit.\"app1-0.0.1-SNAPSHOT.war\".undertow-deployment" => "java.lang.RuntimeException: java.lang.IllegalArgumentException: LoggerFactory is not a Logback LoggerContext but Logback is on the classpath. Either remove Logback or the competing implementation (class org.slf4j.impl.Slf4jLoggerFactory loaded from jar:file:/G:/wildfly-26.1.2.Final/modules/system/layers/base/org/slf4j/impl/main/slf4j-jboss-logmanager-1.1.0.Final.jar!/). If you are using WebLogic you will need to add 'org.slf4j' to prefer-application-packages in WEB-INF/weblogic.xml: org.slf4j.impl.Slf4jLoggerFactory
Caused by: java.lang.RuntimeException: java.lang.IllegalArgumentException: LoggerFactory is not a Logback LoggerContext but Logback is on the classpath. Either remove Logback or the competing implementation (class org.slf4j.impl.Slf4jLoggerFactory loaded from jar:file:/G:/wildfly-26.1.2.Final/modules/system/layers/base/org/slf4j/impl/main/slf4j-jboss-logmanager-1.1.0.Final.jar!/). If you are using WebLogic you will need to add 'org.slf4j' to prefer-application-packages in WEB-INF/weblogic.xml: org.slf4j.impl.Slf4jLoggerFactory
Caused by: java.lang.IllegalArgumentException: LoggerFactory is not a Logback LoggerContext but Logback is on the classpath. Either remove Logback or the competing implementation (class org.slf4j.impl.Slf4jLoggerFactory loaded from jar:file:/G:/wildfly-26.1.2.Final/modules/system/layers/base/org/slf4j/impl/main/slf4j-jboss-logmanager-1.1.0.Final.jar!/). If you are using WebLogic you will need to add 'org.slf4j' to prefer-application-packages in WEB-INF/weblogic.xml: org.slf4j.impl.Slf4jLoggerFactory"}}
```
3. 加入 `wildfly-maven-plugin` plugin 到 `` 區段下
```xml
org.wildfly.plugins
wildfly-maven-plugin
3.0.2.Final
```
4. 封裝應用程式
```bash
mvn clean package
```
此時會產生一個 `g:\app1\target\app1-0.0.1-SNAPSHOT.war` 封裝檔
5. 部署應用程式
直接將 `app1-0.0.1-SNAPSHOT.war` 複製到 `G:\wildfly-26.1.2.Final\standalone\deployments` 資料夾,就可以全自動部署完成!
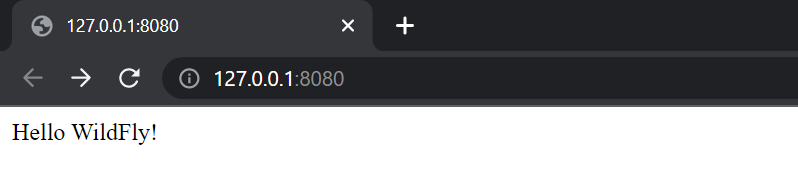
6. 測試網站執行
[http://127.0.0.1:8080/](http://127.0.0.1:8080/)
### 設定 Maven 的 `install` lifecycle phase 自動部署應用程式到 WildFly 應用程式伺服器
1. 先設定好 WildFly 自動部署所需的屬性(Properties)
```xml
17
true
127.0.0.1
9990
wildfly
wi1df1y!
```
2. 加入 `wildfly-maven-plugin` plugin 的 `` 與 `` 設定
其中 `` 主要用來將 `install` 這個 lifecycle phase 與 `wildfly:deploy` goal 綁定(bound),讓日後在執行 `mvn install` 的時候自動部署應用程式到 WildFly AS 去!
```xml
org.wildfly.plugins
wildfly-maven-plugin
3.0.2.Final
install
deploy
${project.build.finalName}.war
${deploy.wildfly.host}
${deploy.wildfly.port}
${deploy.wildfly.username}
${deploy.wildfly.password}
```
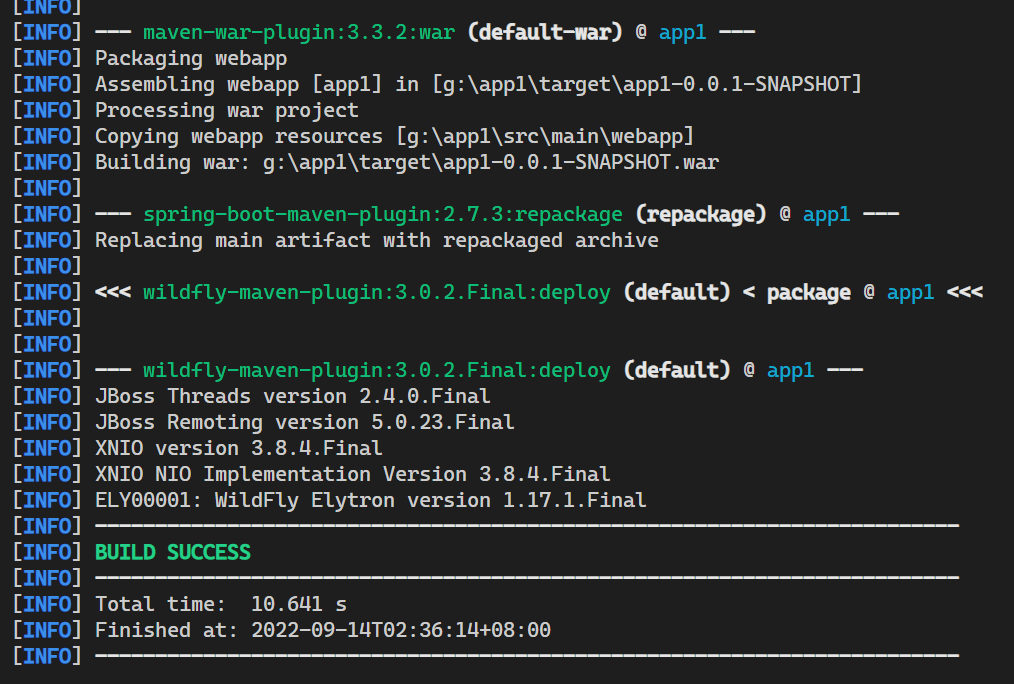
3. 透過 Maven 自動部署應用程式到 WildFly AS
```bash
mvn clean install
```
4. 測試網站執行
[http://127.0.0.1:8080/](http://127.0.0.1:8080/)

### 相關連結
- 本文範例程式: [https://github.com/doggy8088/spring-boot-wildfly-26/commits/master](https://github.com/doggy8088/spring-boot-wildfly-26/commits/master)
- [WildFly](https://www.wildfly.org/)
- [WildFly Maven Plugin (wildfly-maven-plugin)](https://docs.jboss.org/wildfly/plugins/maven/latest/)
- [WildFly - Wikipedia](https://en.wikipedia.org/wiki/WildFly)
- [Spring Boot Hello World on WildFly - Mastertheboss](http://www.mastertheboss.com/jboss-frameworks/spring/spring-boot-hello-world-on-wildfly/)
- [Deploy Spring Boot on WildFly application server - DEV Community](https://dev.to/jakmar17/deploy-spring-boot-on-wildfly-application-server-2029)
- [How to Change the Default Port in Spring Boot | Baeldung](https://www.baeldung.com/spring-boot-change-port)
- [Maven Dependency Scopes | Baeldung](https://www.baeldung.com/maven-dependency-scopes)