home id = {{id}}!
``` 6. 連線到 [http://localhost:4200/home/123](http://localhost:4200/home/123) 網頁 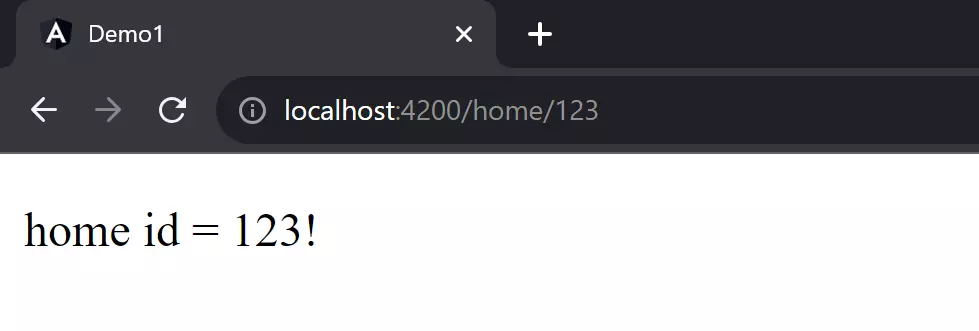 ### Angular 16 之後如何取得路由參數 1. 先調整 `AppRoutingModule` 在路由模組加上 `bindToComponentInputs: true` 屬性設定! ```typescript @NgModule({ imports: [RouterModule.forRoot(routes, { bindToComponentInputs: true })], exports: [RouterModule] }) export class AppRoutingModule { } ``` 如果是 Standalone Component 獨立元件架構的話,由於並沒有 AppModule 的存在,所以設定方式稍微有點不太一樣。但你只要在 `bootstrapApplication` 的 `providRouter()` 的第二個參數加上 `withComponentInputBinding()` 即可! ```typescript bootstrapApplication(App, { providers: [ provideRouter(routes, //... other features withComponentInputBinding() // <-- enable this feature ) ], }); ``` 2. 修正 `src/app/home/home.component.ts` 元件 你可以發現新的版本少寫了很多 Code,使用上非常直觀!👍 ```typescript import { Component, Input, OnInit } from '@angular/core'; @Component({ templateUrl: './home.component.html', styleUrls: ['./home.component.css'] }) export class HomeComponent implements OnInit { @Input() id = ''; ngOnInit(): void { console.log(this.id); } } ``` ### 常見問題解答 1. 改用 `@Input() id` 之後,如果網址列上的路由參數變更時,會像 `this.route.paramMap.subscribe()` 這樣可以訂閱更新後的值嗎? Ans: 會的,你會即時拿到更新後的路由參數,同時也會觸發 `ngOnChanges()` hook 喔!👍 2. 我可否透過 `@Input() name` 拿到 Query String 查詢字串 `name` 的值? Ans: 可以的!完全相同的語法即可拿到,非常方便啊!👍 不僅如此,你還可以拿到 `data` property 與 `resolver` 的值,都用簡單的 `@Input()` 語法即可!😍 3. 我可否透過 `@Input() id` 拿到值之後,自動轉型成 `number` 型別? Ans: 我們透過 `ActivateRoute` 取得到的值一定是 `string` 型別,如果你需要轉型成 `number` 或 `boolean` 型別都要手動轉換過,有點麻煩。從 Angular 16.1 開始,你可以透過 `transform` 函式做到自動轉型,例如使用 `numberAttribute` 或 `booleanAttribute` 等轉換函式進行宣告,讓你拿到資料時直接就是轉換過的型別。 範例如下: ```typescript @Input({transform: numberAttribute}) id = 0; ``` 完整範例如下: ```typescript import { Component, Input, OnChanges, OnInit, SimpleChanges, numberAttribute } from '@angular/core'; @Component({ templateUrl: './home.component.html', styleUrls: ['./home.component.css'] }) export class HomeComponent implements OnInit, OnChanges { @Input({transform: numberAttribute}) id = 0; ngOnInit(): void { console.log(typeof(this.id), this.id); } ngOnChanges(changes: SimpleChanges): void { console.log(typeof(this.id), this.id); } } ``` ### 相關連結 - [Router data as components inputs in Angular v16 - Angular inDepth](https://angular.love/router-data-as-components-inputs-in-angular-v16) - [Bind Route Info to Component Inputs (✨ New Router feature) | by Enea Jahollari | ITNEXT](https://itnext.io/bind-route-info-to-component-inputs-new-router-feature-1d747e559dc4) - [How to Use @Input() to Read Angular Route Parameters](https://www.freecodecamp.org/news/use-input-for-angular-route-parameters/)