就在前天 (2016/7/29) docker 公司已正式推出全新的 Docker for Windows 版本,這個版本跟之前不同的是,本次推出的版本是個原生 Windows 應用程式,不再需要借助 VirtualBox、Docker Toolbox、boot2docker 或其他工具就可以執行,只要你的 Windows 作業系統是 Windows 10 專業版或企業版 (64-bit),並在安裝 Hyper-V 功能之後即可進行安裝與設定,這樣的改變帶來了更快、更穩定的容器環境,更增加許多全新功能與自動升級能力,幫助大家改善開發與部署的生產力。本篇文章將帶大家快速預覽新版 Docker for Windows 的安裝過程與使用方式。
安裝 Docker for Windows
先到 http://www.docker.com/products/docker 下載 Docker for Windows 安裝檔 ( InstallDocker.msi )

安裝過程中可以發現,目前 Docker for Windows 為 1.12.0 穩定版:
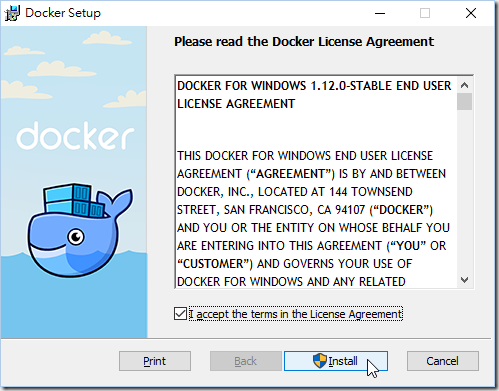
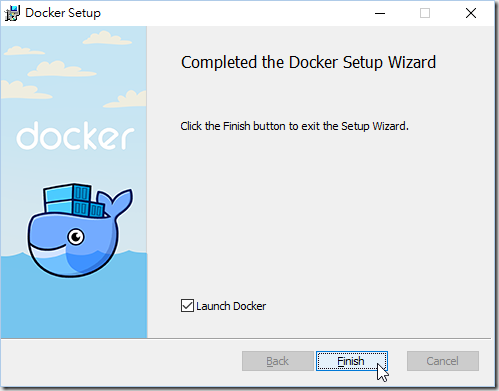
當我按下上圖的 "Install" 之後,不到一分鐘就全部安裝好了,嚇死人的快狠準!
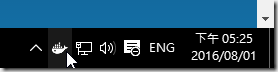
啟動 Docker 之後,會在螢幕右下角看見一個 docker 的圖示:
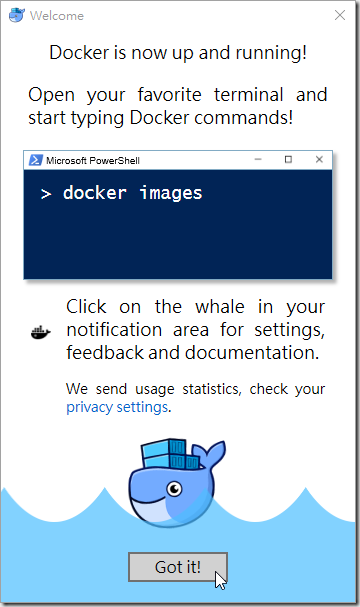
點開之後可以看見一個 docker 命令的示意圖:
在螢幕右下角的 docker 圖示按下右鍵,可以看見 docker for windows 的各種功能
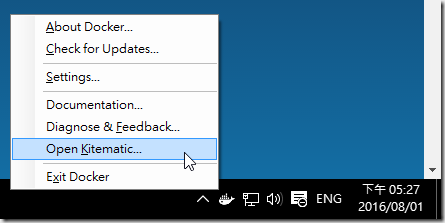
我先選擇下載 Docker for Windows 的 GUI 管理工具 Kitematic
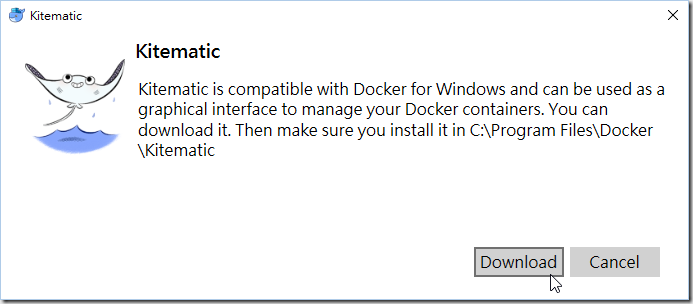
下載 Kitematic-Windows.zip 壓縮檔之後,請手動解壓縮到 C:\Program Files\Docker\Kitematic 目錄下:

使用 Docker for Windows
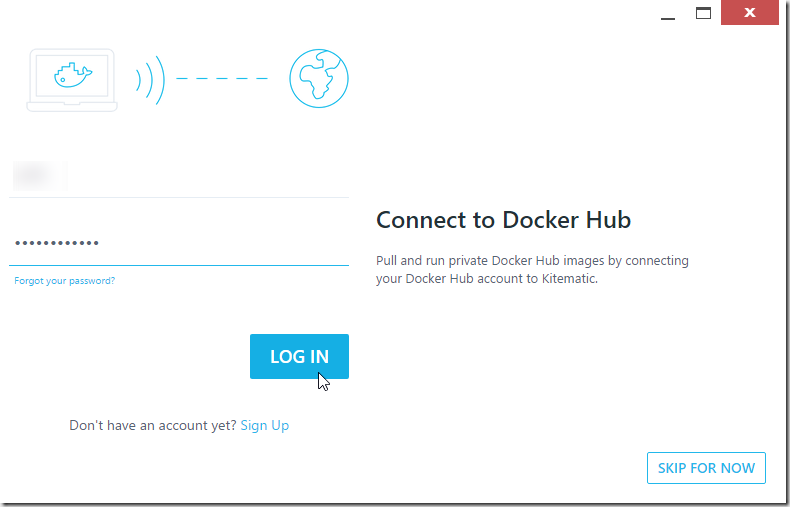
請點擊螢幕右下角 docker 圖示的 Open Kitematic 功能選單,以開啟 Kitematic 工具,第一次登入建議可以先註冊一組 Docker Hub 帳號,然後直接登入:
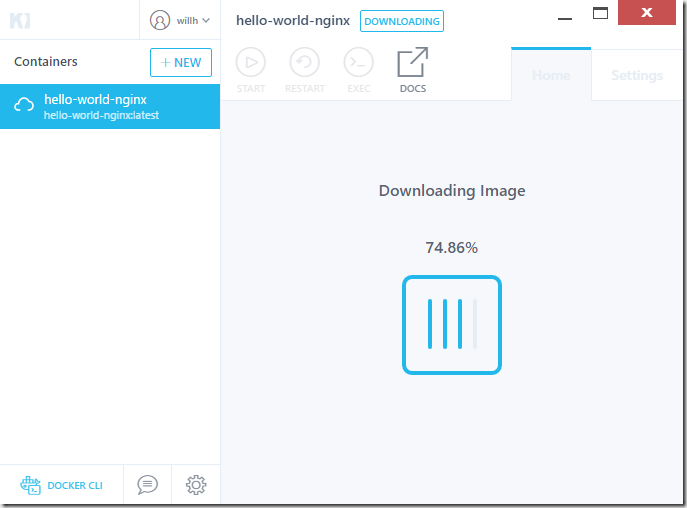
登入之後就可以在漂亮的 Kitematic 介面中選擇現有在 Docker Hub 上的 Containers
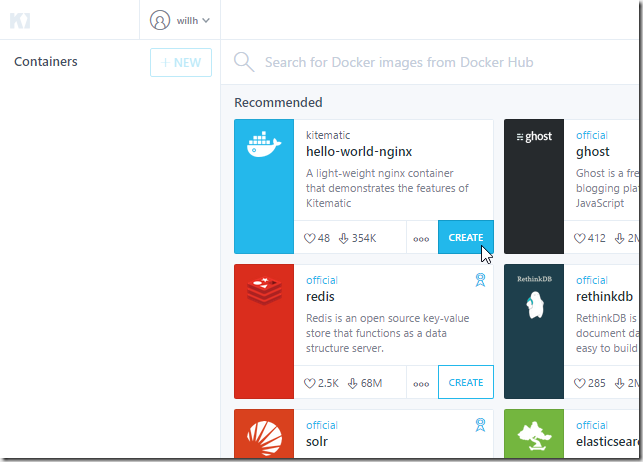
只要按下 CREATE 按鈕,即可自動下載容器影像 (Container Image) 並自動建立與啟動容器,我已經不知道要說甚麼了 ......,這麼簡單就能開始使用容器,也太贊了!
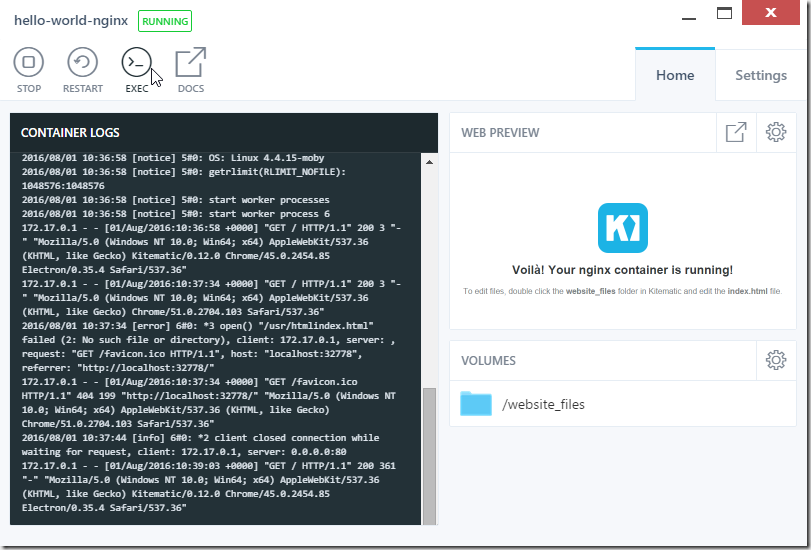
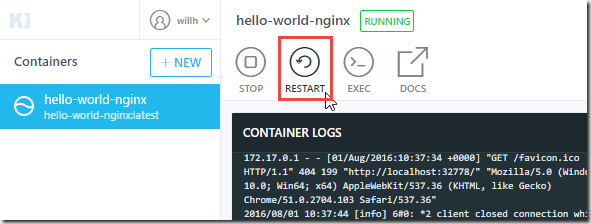
從上圖你可以看到,有個 STOP, RESTART, EXEC, DOCS 等按鈕:
- START/STOP:啟動或停止容器 ( docker start / docker stop )
- RESTART:重新啟動容器 ( 等於先停止再啟動容器 )
- EXEC:預設會開啟 PowerShell 並執行 docker exec 執行 sh 命令進入 Linux Shell 互動模式
- DOCS:會開啟這個容器影像在 Docker Hub 的說明頁面
右邊則有 Settings 可以設定該容器的容器名稱、刪除容器、設定環境變數、設定網路 Port 對應 (Port Mappings)、設定磁碟資料夾對應 (Volumes) 與一些其他設定。
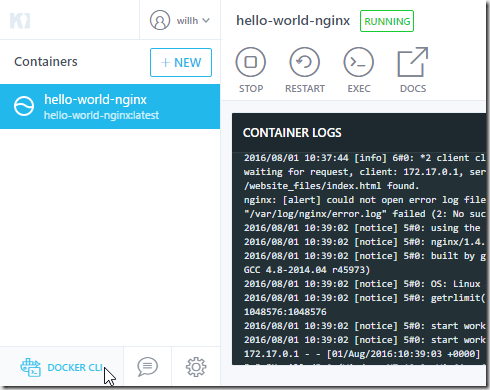
在 Kitematic 介面的左下角則有個小小的 DOCKER CLI 按鈕,按下去則會直接開啟 PowerShell 讓你透過 docker 命令操作容器:
其實就算對於一個完全沒用過 docker 的新手來說,完全不用看文件應該也能順利上手,介面設計的真不錯!
設定磁碟資料夾對應 (Volumes) 的注意事項
如果你下載的容器影像會需要用到 Data Volumes 的話,預設 Kitematic 會幫你設定一組預設的資料夾對應,但你會發現怎樣修改都沒效,原因是你還沒啟用允許共用的磁碟機。
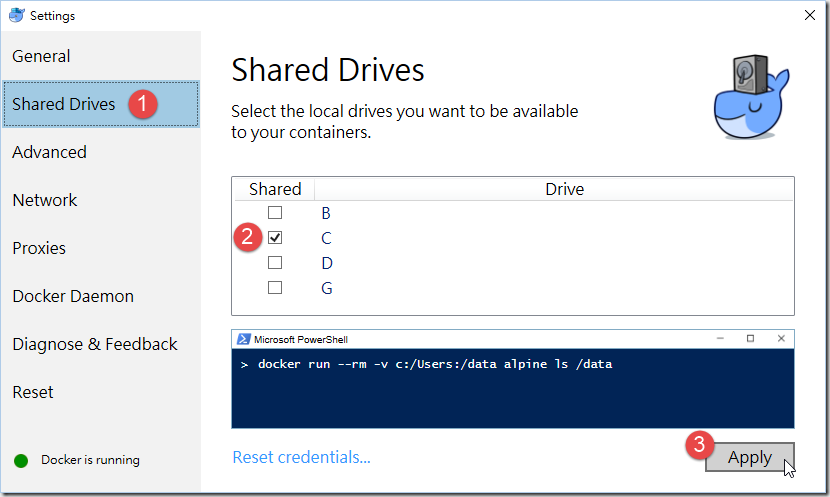
請依據以下操作步驟啟用磁碟共用,這樣才能正常使用 Docker 的 Data Volumes 功能:
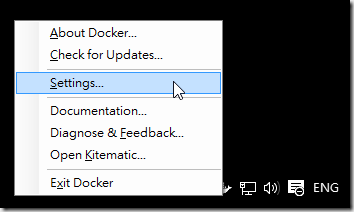
1. 請點擊螢幕右下角 docker 圖示的 Settings 功能選單
2. 請切換到 Shared Drives 頁籤,然後勾選磁碟機,最後選擇 Apply 套用設定
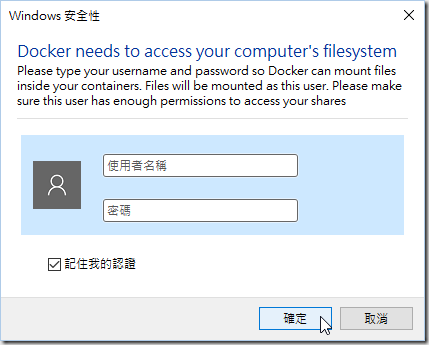
套用設定的時候,由於會存取到檔案系統,所以你必須先輸入擁有系統管理者身分的本機帳戶,通過認證後才能設定完成:
最後再重新啟動容器即可 ( 重新啟動容器不會造成資料遺失 )
結論
容器技術絕對是未來的趨勢,而新版 Docker for Windows 大幅簡化安裝與設定的過程,降低使用 Docker 的門檻,搭配 Kitematic 視覺化的操作介面,更讓你連一行指令都不用輸入,就可以順利下載、啟動、停止、刪除容器,大幅降低使用容器的門檻,想要搶先體驗 docker 的人可千萬不要錯過囉。
相關連結