我們在使用 TFS 進行專案管理時,文件通常都會放上 SharePoint 伺服器上的文件庫裡,只不過當要存取多個檔案時就會變得比較麻煩些,這時若能將 SharePoint 上的文件庫變成直接透過檔案總管來存取這些檔案的話那該有多好,幸好這一點 SharePoint 已經幫我們想好了,由於 SharePoint 實做了 WebDAV 協定,因此我們可以很容易的完成這個任務。另外,不支援中文目錄名稱的問題也讓人很困擾,在本文中也有提出解決的辦法。
如果你是系統管理者的話,你可以直接掛載整個 SharePoint 裡的網站集合 (Site Collection),否則你也可以只掛載一個專案的網站 (Site),操作步驟如下:
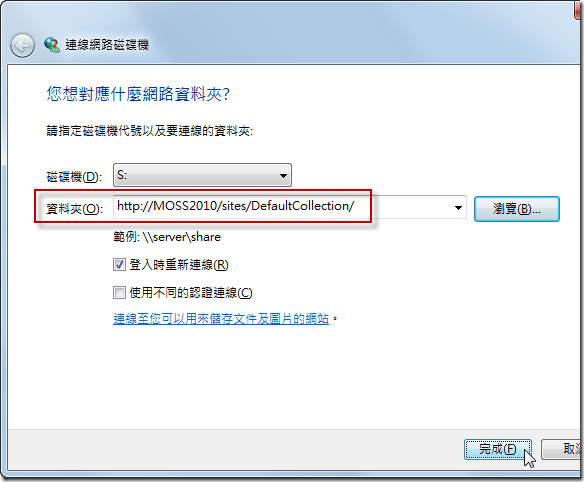
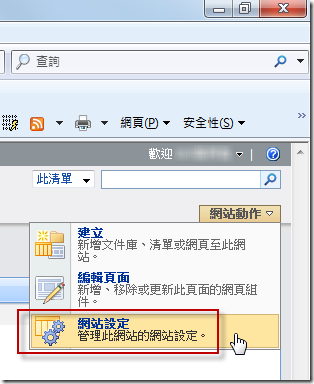
開啟檔案總管並使用 [工具] –> [連線網路磁碟機]

接著選取一個空的磁碟機,然後在「資料夾」欄位輸入 SharePoint 的網站網址:
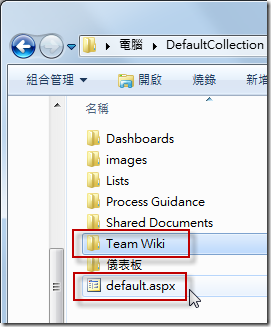
按下完成後就可以從檔案總管理瀏覽各網站內的文件資料了,只不過這樣的使用方式缺點是你會看到一些與開發文件不相關的檔案,甚至還有一些副檔名為 *.aspx 的程式。如下圖示,你雖然能看到有個 Team Wiki 的目錄,但是裡面的所有檔案也都是 *.aspx 的程式,並沒有任何實質內容,因此透過檔案總管來看也沒啥意義,除非你想透過這個管道來修改 SharePoint 版面。
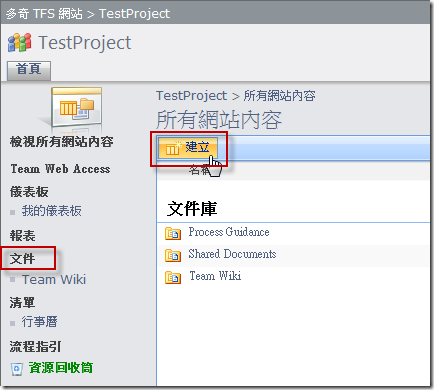
因此,建議的作法還是先在你的網站內先建立一個獨立的文件庫,然後再請團隊成員將此文件庫的路徑掛載(Mount)成為本機的一個磁碟代號,這樣就不怕動到其他檔案了。
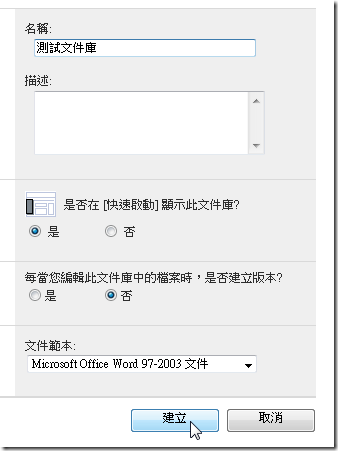
以下是建立文件庫的步驟:
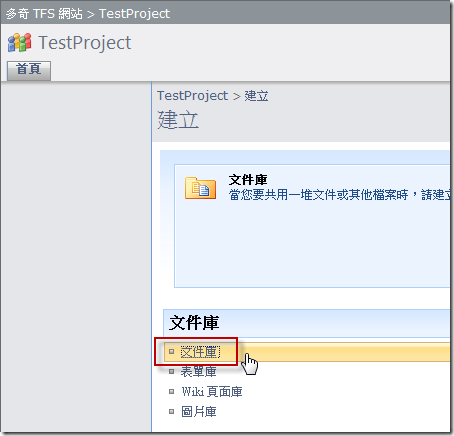
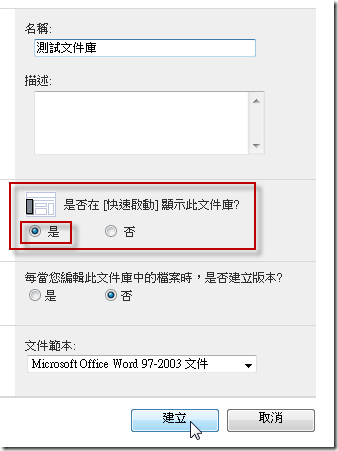
在此我們輸入「中文」當做文件庫的名稱,不過,稍後你就會看到進一步說明!
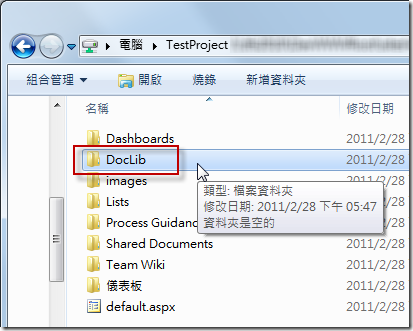
建立完成後請掛載 TestProject 到電腦裡,這時你會找不到「測試文件庫」,那是因為 SharePoint 並不支援讓你建立以中文命名的路徑,因此在完全無法顯示目錄名稱的情況下,他就會用 DocLib、DocLib1、DocLib2、…的方式命名下去,如此一來你將無法有效分辨個別目錄分別代表哪個文件庫。
此問題最簡單的解決方法當然就是用英文命名,不過我有更好的解法(當然步驟稍微繁瑣了些),透過以下方法可以手動將目錄名稱修正回中文,且正確的在檔案總管中顯示中文,以下是修正步驟:
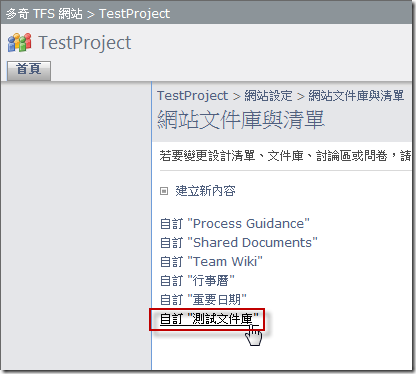
1. 一樣先建立好文件庫,在此以「測試文件庫」為例
2. 查出該文件庫的 ListId
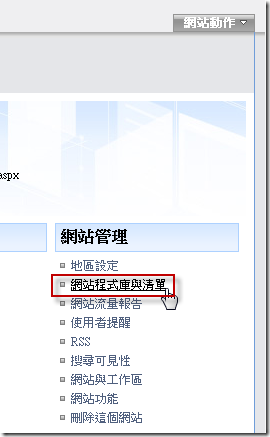
這時網址列上會出現一個 List 參數,其值就是該清單(List)的 ListId

3. 修正目錄名稱與檔案路徑
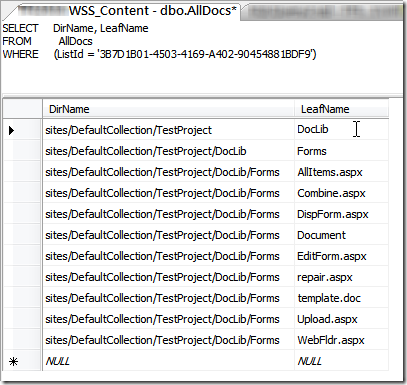
使用 Management Studio 進入 WSS 的 WSS_Content 資料庫,並對 AllDocs 資料表篩選出該清單的所有資料。如下圖的第一筆的 LeafName 就是該目錄的名稱,而其他資料的 DirName 就是所屬路徑,兩個都要修改才行:
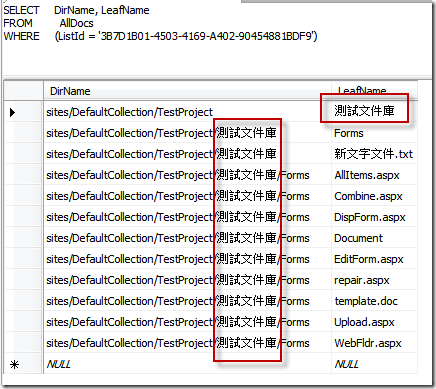
將 DocLib 修改成「測試文件庫」就大功告成,修改完後資料如下圖示:
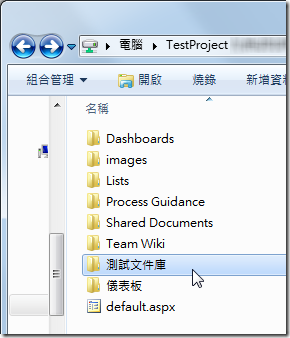
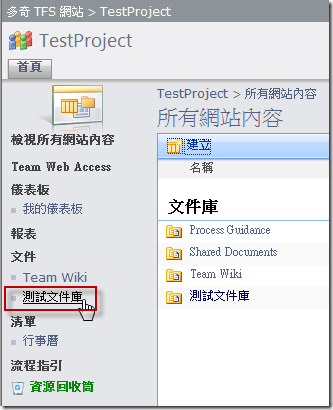
之後你就可以在檔案總管內快樂的使用中文名稱目錄了:
4. 修正快速啟動連結
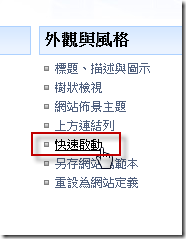
如果你在建立文件庫的時候有勾選如下圖的選項,那麼這個快速啟動的連結也必須要手動修改:
修正連結的步驟如下:
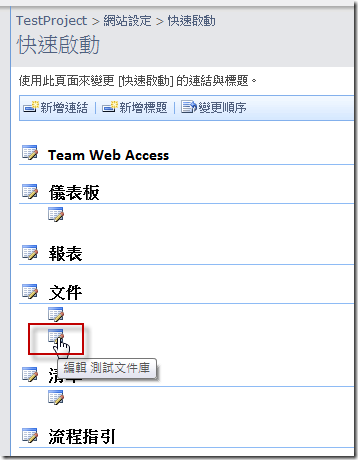
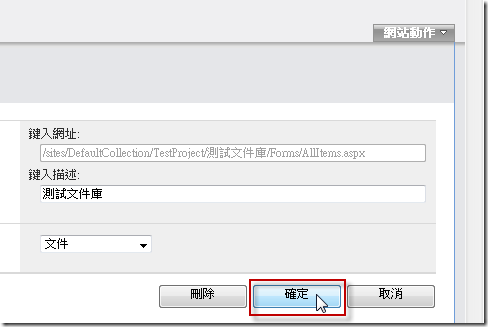
在這裡什麼也不用改,直接按下 [確定] 按鈕即可修復連結:
最後,我再分享一個透過指令列掛載 SharePoint 文件庫的指令檔(透過 net use 指令)
net use S: http://MOSS2010/sites/DefaultCollection/TestProject /persistent:yes
刪除既有磁碟機對應的方式
相關連結