由於我多年前買過一張 RTX GeForce 2070 顯卡 (GPU),雖然僅有內建 8.0 GB 的專屬 GPU 記憶體,但要跑一些小的 LLM 模型還是可以的。最近在嘗試把一些 LLM 應用程式跑在 Docker 容器中,但是發現 Docker Desktop for Windows 預設是不支援 NVIDIA CUDA 的,需要特別設定一下才能使用。這篇文章記錄一下設定的過程。

啟用 GPU 支援
首先,要在 Docker Desktop for Windows 啟用 GPU / NVIDIA CUDA 支援必須要有以下前提:
-
一台配備 NVIDIA GPU 的電腦
-
最新的 Windows 10 或 Windows 11 作業系統
-
NVIDIA 提供的最新驅動程式支援 WSL 2 GPU Paravirtualization (GPU-PV)。
安裝 NVIDIA 提供的驅動程式時,可以不用安裝 NVIDIA GeForce Experience 軟體,單純安裝 NVIDIA Studio Driver 即可。
若是安裝 NVIDIA GeForce Experience 軟體的話,會自動安裝 GeForce Game Ready Driver 到最新版,而且會提供自動更新功能。
你只要安裝最新版的 NVIDIA Studio Driver 驅動程式,預設就會支援 WSL 環境,因此你不用特別在 WSL 環境下安裝驅動程式。詳見 CUDA on WSL 文件說明。
-
確保 Docker Desktop 有啟用 Use the WSL 2 based engine 選項
你可以到 Docker Desktop 的 [Settings] -> [General] -> [勾選 Use the WSL 2 based engine 選項] -> 按下 [Apply & restart] 按鈕。
-
確認安裝最新版本的 WSL 2 Linux 核心
這個步驟要先關閉 Docker Desktop 執行,然後將 WSL 完整關閉,命令如下:
wsl --shutdown
請在命令提示字元以系統管理員身分執行 wsl --update 命令,確保 WSL 2 核心版本是最新的。
C:\WINDOWS\system32>wsl --version
WSL 版本: 2.0.9.0
核心版本: 5.15.133.1-1
WSLg 版本: 1.0.59
MSRDC 版本: 1.2.4677
Direct3D 版本: 1.611.1-81528511
DXCore 版本: 10.0.25131.1002-220531-1700.rs-onecore-base2-hyp
Windows 版本: 10.0.19045.4046

C:\WINDOWS\system32>wsl --update
正在檢查更新。
正在將Windows 子系統 Linux 版更新為版本: 2.0.14。
然後再重新開啟 Docker Desktop!
驗證 GPU 支援
接著,我們就來驗證一下目前的 Docker Desktop 是否已經支援 GPU!
-
先下載 NVIDIA 提供的 CUDA Docker 映像檔
docker pull nvidia/cuda:12.3.1-devel-ubuntu20.04
請注意: 若要執行最新版的 nvidia/cuda 映像檔,你也要相對應的更新本機的 NVIDIA Driver 到最新版才能啟動。
-
執行 NVIDIA 提供的 CUDA 範例容器
docker run --rm -it --gpus=all nvcr.io/nvidia/k8s/cuda-sample:nbody nbody -gpu -benchmark
如果你看到以下的訊息,代表你的 Docker Desktop 已經支援 GPU 了!
Run "nbody -benchmark [-numbodies=<numBodies>]" to measure performance.
        -fullscreen       (run n-body simulation in fullscreen mode)
        -fp64             (use double precision floating point values for simulation)
        -hostmem          (stores simulation data in host memory)
        -benchmark        (run benchmark to measure performance)
        -numbodies=<N>    (number of bodies (>= 1) to run in simulation)
        -device=<d>       (where d=0,1,2.... for the CUDA device to use)
        -numdevices=<i>   (where i=(number of CUDA devices > 0) to use for simulation)
        -compare          (compares simulation results running once on the default GPU and once on the CPU)
        -cpu              (run n-body simulation on the CPU)
        -tipsy=<file.bin> (load a tipsy model file for simulation)

NOTE: The CUDA Samples are not meant for performance measurements. Results may vary when GPU Boost is enabled.

> Windowed mode
> Simulation data stored in video memory
> Single precision floating point simulation
> 1 Devices used for simulation
GPU Device 0: "Turing" with compute capability 7.5

> Compute 7.5 CUDA device: [NVIDIA GeForce RTX 2070]
36864 bodies, total time for 10 iterations: 61.045 ms
= 222.616 billion interactions per second
= 4452.312 single-precision GFLOP/s at 20 flops per interaction
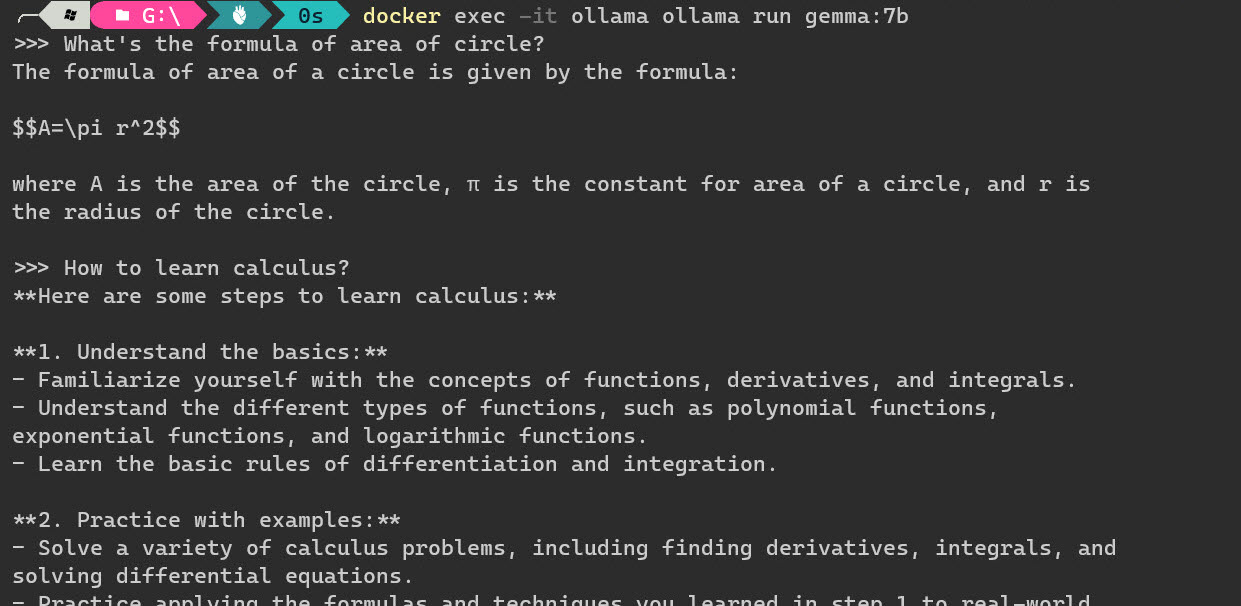
執行需要 GPU 支援的應用程式
這裡我們以 Ollama 提供的工具來跑跑看 Google 最近推出的 Gemma 模型!
-
先啟動 Ollama 容器
docker run --gpus=all -d -v ollama:/root/.ollama -p 11434:11434 --name ollama ollama/ollama
-
在容器中執行 ollama run gemma:7b 命令 (Ollama Library: gemma)
docker exec -it ollama ollama run gemma:7b
如果可以順利的進行推論(Inference),那就是完全沒問題了!
相關連結